Skip to site index Skip to content
PRODUCT

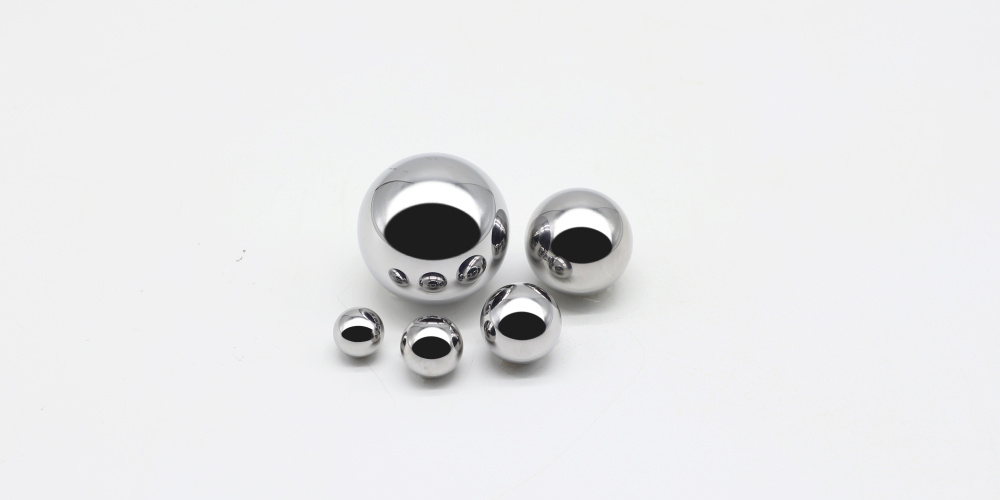
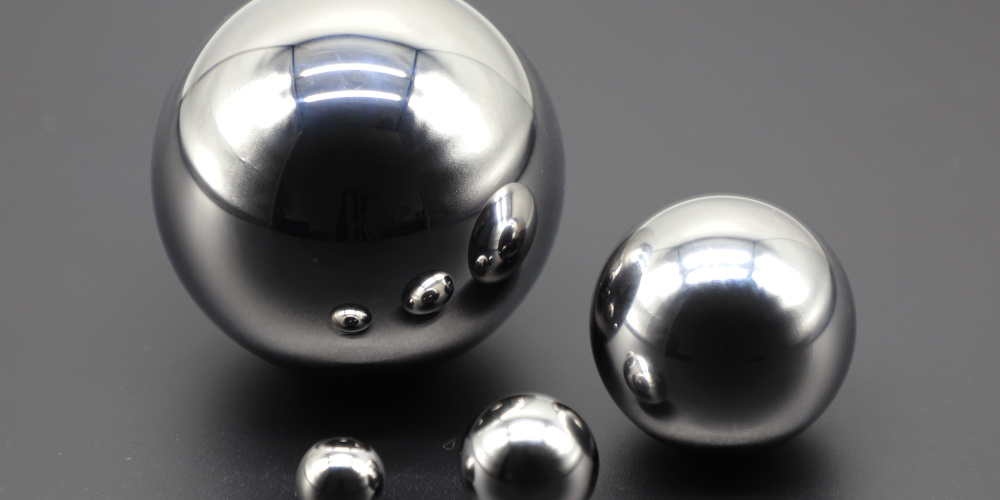
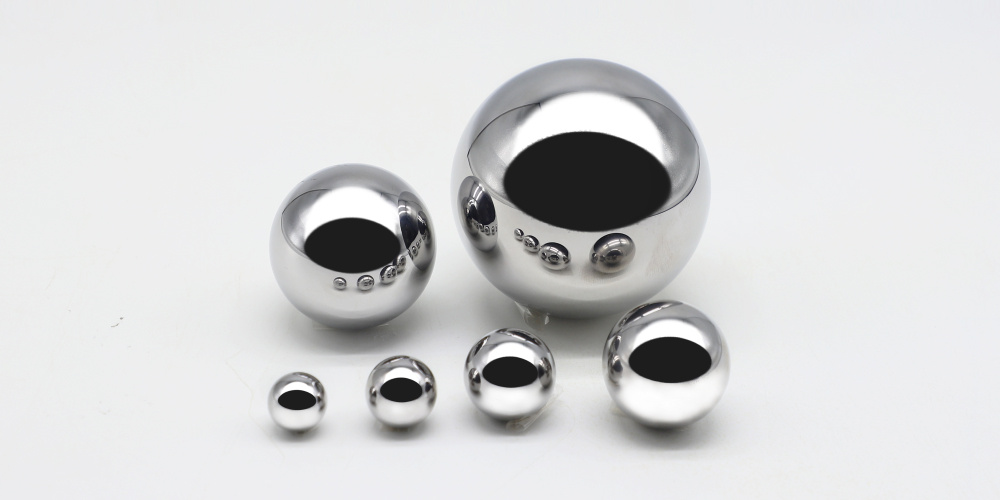
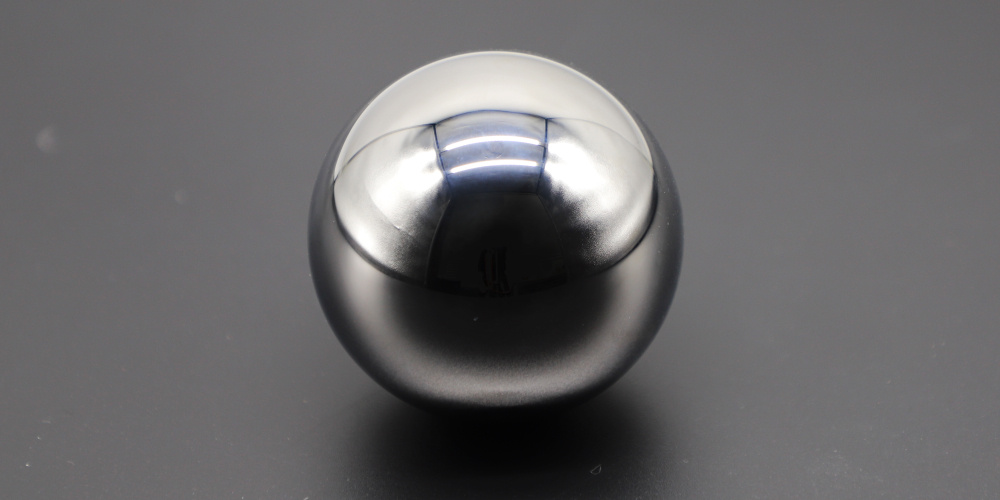
PRIDE OF QUALITY PARKWON STEEL BALL

Product Introduction

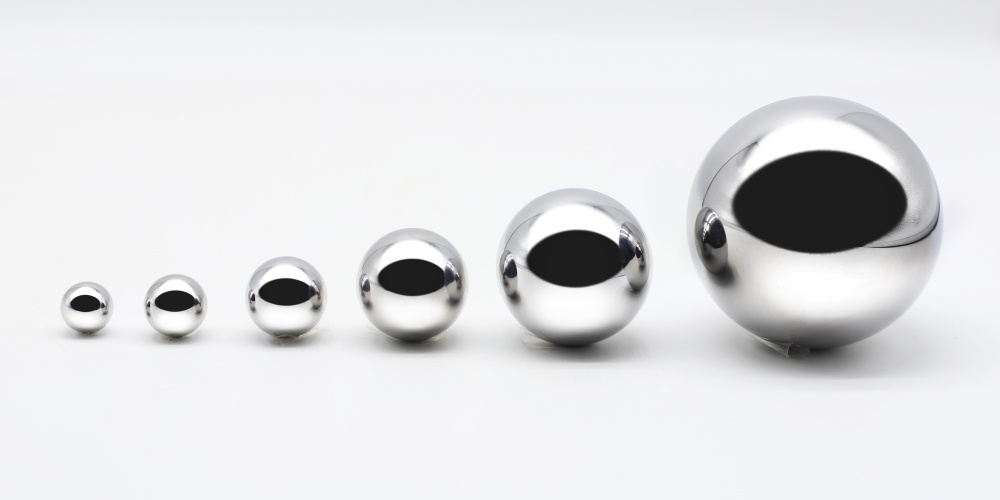
Steel Ball

Introduction

Bearing Steel
(SUJ high-carbon chrome steel)

It is an extremely hard material with wear resistance that is used for car bearings.

It presents uniform strength from the surface to core through hardening heat treatment and is used universally by all bearing companies.

Raw Material Requirements

Bearing steel standard (Standards by country)
Bering steel standard (Standards by country)
Korea KS China GB Japan JIS USA ASTM Germany DIN
STB2 Gcr15 SUJ2 S2100 100Cr6
Chemical Substance
Chemical substance
Weight%
Element symbol C Si Mn P S Cr Ni Mo Cu AI Mo Pb Sb Sn As O2 Ti Ca H2
Minimum 0.95 0.15 0.25 1.35
Maximum 0.98 0.35 0.45 0.025 0.015 1.60 0.25 0.10 0.25 0.05 0.1 0.002 0.005 0.03 0.04 0.0012 0.003 0.001 0.0002
※ Chemical substance reference
DIN EN ISO 683-17 100Cr6
ASTM A295/A295M SAE 52100
KS D 3525 STB2
GB T 18254 GCr15
JIS G 4805 SUJ2
SKF Grade3
Schaeffler S130000
Mechanical Properties
Mechanical properties
Drawing process Hardness Reduction in area Spheroidizing ratio A.G.S Decarbonizing Elongation rate Surface defect
HRB RA % DM-F(mm) DM-T(mm) EL(%)
SAPC Max 95 Max 40% Min 90% Min 8 Max 0.03 Max 0.05 Min. 5% 전 Size
0.05mm max
(A)SIP Max 100
PASAIP Max 93

Product Requirements

Definition of Terms
Definition of terms
Term Definition
Nominal ball diameter (Dw) The diameter used to identify a ball size.
Note: When purchasing balls from the inch system, the diameter values can deviate (see Appendix B).
Single diameter of a ball (Dws) The distance between two parallel planes that contact the surfaces of the ball.
Mean diameter of a ball (Dwm) The arithmetical mean of the largest and the smallest single diameters Dws of a ball.
Grade (G) A specific combination of dimensional, form and surface roughness tolerances and of the diameter variation. A ball grade is designated by a number preceded by the letter symbol G.
Ball gauge interval (Ig) One of the intervals into which the limit deviation for the nominal diameter of a ball is divided.
Surface roughness (Ra) To DIN EN ISO 4287 and DIN EN ISO 4288. The arithmetical average value of the departure of the profile of a surface from the mean line throughout a specified sampling length, with deviations of form and waviness being ignored.
Deviation from spherical form (RSW) The greatest radial distance, in any equatorial plane, between the smallest circumscribed sphere and the greatest inscribed sphere with a common center calculated using the least squares center (LSC) method described in DIN 5401.
Variation of ball diameter (VDws) The difference between the largest and the smallest single diameters Dws of a ball.
Lot A definite quantity of balls manufactured under conditions which are presumed to be uniform and which have comparable properties according to Table 5 (e. g. same ball gauge).
Mean diameter of ball lot (DwmL) The arithmetical mean of the mean diameter of the largest ball and that of the smallest ball in a lot.
Variation of ball lot diameter (VdwL) The difference between the mean diameter of the largest ball and that of the smallest ball in a lot.
Ball gauge tolerance (ST) Range within which DwmL may vary for a particular ball gauge.
The amount of ST is equal to the ball gauge interval IG.
Distance between the mean ball diameter DwmL of a lot (Ball guage) Distance between the mean ball diameter DwmL of a lot and the nominal diameter Dw of the ball, rounded to a whole multiple of the ball gauge interval lo (in grade G3 up to G200).
Definition of Measurements
Definition of measurements
Ball Size Nominal ball
diameter
Ball Size Nominal ball
diameter
Ball Size Nominal ball
diameter
Dw Dw Dw
mm inch (mm) mm inch (mm) mm inch (mm)
5/32” 12.5mm 12.5 30mm 30
4mm 4 1/2" 12.7 1-3/16" 30.1625
11/64" 4.36562 13mm 13 1-1/4" 31.75
4.5mm 4.5mm 17/32" 13.49375 32mm 32
3/16" 4.7625 14mm 14 33mm 33
5mm 5 9/16" 14.2875 1-5/16" 33.3375
13/64" 5.15938 15mm 15 34mm 34
5.5mm 5.5 19/32" 15.08125 1-3/8" 34.925
7/32" 5.55625 5/8" 15.875 35mm 35
15/64" 5.95312 16mm 16 36mm 36
6mm 6 21/32" 16.66875 1-7/16" 36.5125
1/4" 6.35 17mm 17 38mm 38
6.5mm 6.5 11/16" 17.4625 1-1/2" 38.1
17/64" 6.74688 18mm 18 1-9/16" 39.6875
7mm 7 23/32" 18.25625 40mm 40
9/32" 7.14375 19mm 19 1-5/8" 41.275
7.5mm 7.5 3/4" 19.05 1-11/16" 42.8625
19/64" 7.54062 25/32" 19.84375 1-3/4" 44.45
5/16" 7.9375 20mm 20 45mm 45
8mm 8 20.5mm 20.5 45mm 1-13/16" 46.0375
21/64" 8.33438 13/16" 20.6375 1-7/8" 47.625
8.5mm 8.5 21mm 21 1-15/16" 49.2125
11/32" 8.73125 27/32" 21.43125 50mm 50
9mm 9 22mm 22 2 50.8
23/64" 9.12812 7/8" 22.225 2-1/8" 53.975
9.5mm 9.5 22.5mm 22.5 55mm 55
3/8" 9.525 23mm 23 2-1/4" 57.15
25/64" 9.92188 29/32" 23.01875 60mm 60
10mm 10 15/16" 23.8125 2-3/8" 60.325
13/32" 10.31875 24mm 24 2-1/2" 63.5
10.5mm 10.5 31/32" 24.60625 65mm 65
11mm 11 25mm 25 2-5/8" 66.675
7/16" 11.1125 11.1125 25.4 2-3/4" 69.85
11.5mm 11.5 26mm 26 70mm 70
29/64" 11.50938 1-1/32" 26.19375 2-7/8" 73.025
29/64" 11.90625 1-1/16" 26.9875 75mm 75
12mm 12 28mm 28 3 76.2
31/64" 12.30312 1-1/8" 28.575
Definition of Steel ball quality by Grade
Definition of steel ball quality by grade
Grade Variation of ball diameter VDWS (Max) Deviation from spherical form (Max) Deviation from spherical form (Max) Variation of ball diameter VDWL (Max)
G3 0.08 0.08 0.01 0.13
G5 0.13 0.13 0.014 0.25
G10 0.25 0.25 0.02 0.5
G16 0.4 0.4 0.025 0.025
G20 0.5 0.5 0.032 1
G24 0.6 0.6 0.04 1.2
G28 0.7 0.7 0.05 1.4
G40 1 1 0.06 2
G60 1.5 1.5 0.08 3
G100 2.5 2.5 2.5 5
G200 5 5 0.15 10